Create A Big Beautiful Bokeh Background For Portraits

I came up with this idea a few years ago when I was trying to find a reflective backdrop for my still life and product photos. Of course, later on, I eventually found out that other people had come up with the same idea as I had. At the time, I was looking for something that would add some fantastic bokeh without reflecting the candles I had placed in the scene. I searched throughout my house and found some aluminum foil that ended up working perfectly. I never had the realization until relatively recently that I could create a much larger version for portraits.

Fast forward to today and I found a great way to apply this same technique on a grand scale with the potential for use when shooting full-length portraits. First off, I needed something stable to wrap the aluminum foil around that I could use as a make-shift background. I took a trip to Home Depot, a D.I.Y. home improvement store, and found this white tile board that was 8'x4' and only cost $13. I was originally going to choose a foam insulation board which was the same price and size but ultimately decided against it. In hindsight, I do wish I would've gone with the foam board as it was more rigid and sturdy. Live and learn I suppose.
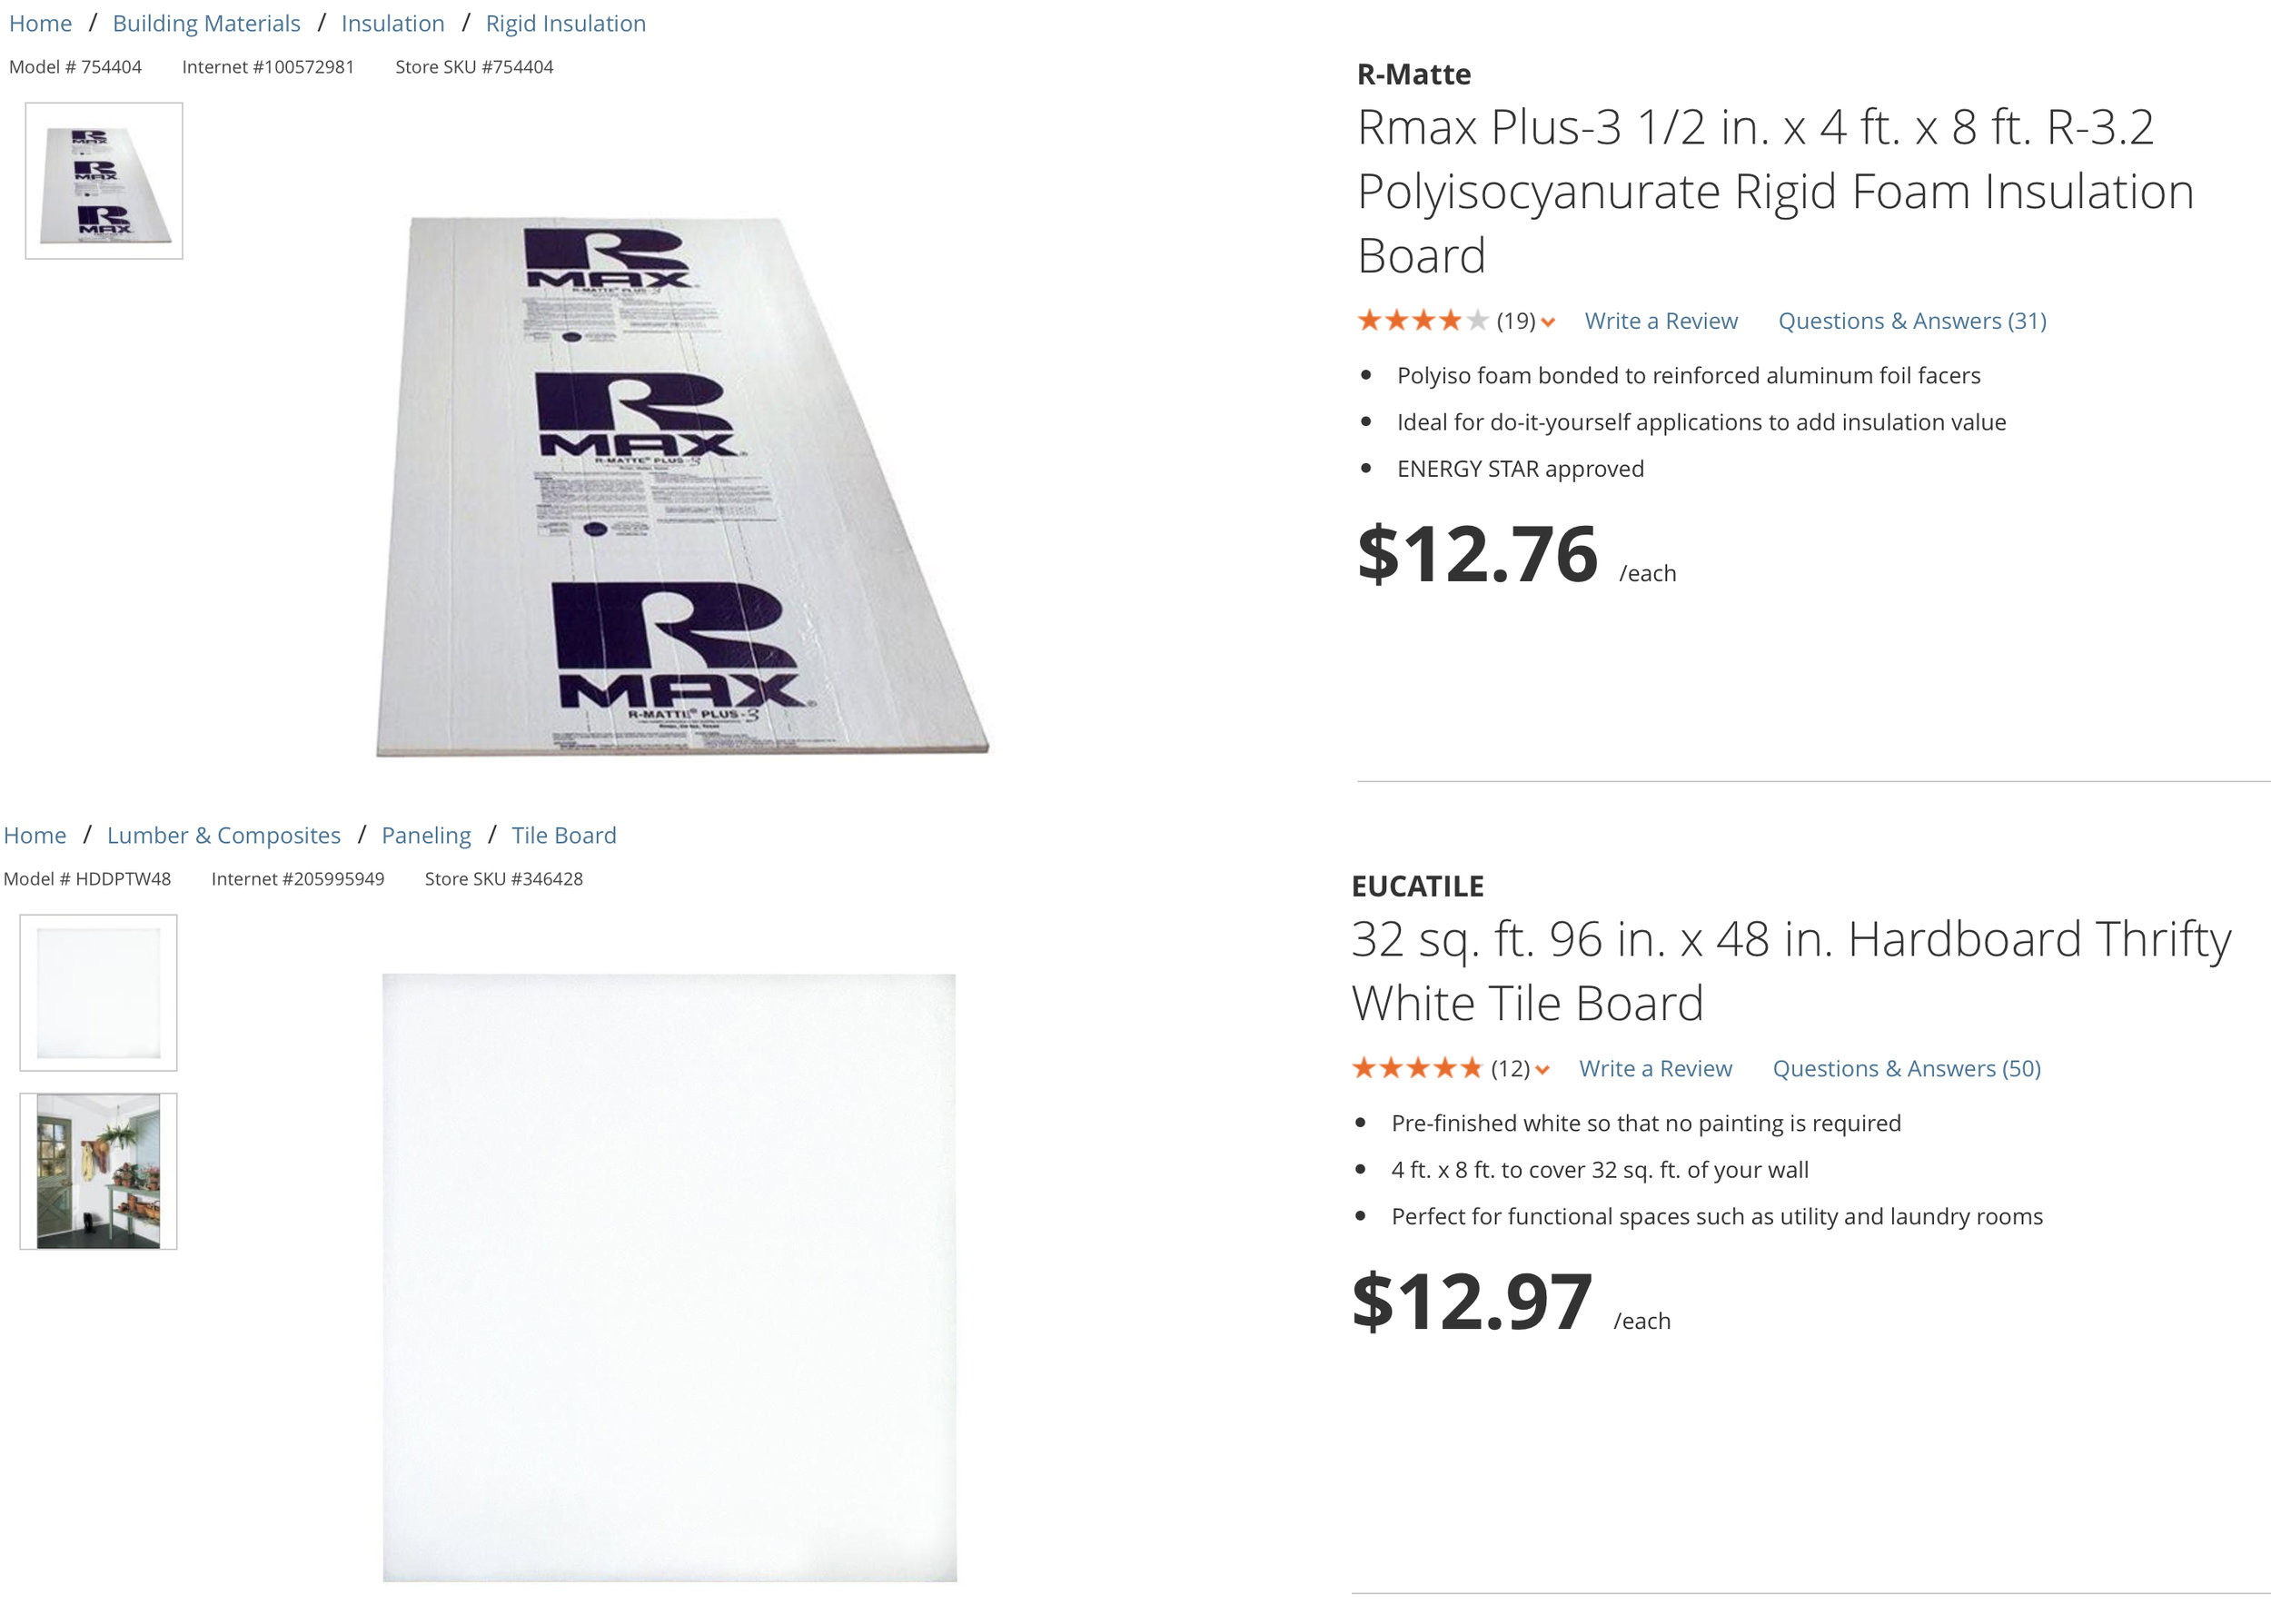
I ended up going with the bottom one from Home Depot.
So, now that I brought home the tile board for the base, I needed the aluminum foil. Originally, I had gone with the name brand Reynolds wrap since I figured the foil wouldn't tear as easily if I got the heavy duty stuff. While this was true, I instead went with an off brand aluminum foil simply called "aluminum foil". The reason was that the Reynolds wrap wasn't nearly as reflective as the generic stuff and didn't give me the look I was going for. The off brand foil produced a much more contrasty look with a more pronounced and dramatic effect. Of course, if you like the more subtle looking bokeh, by all means, use the name brand foil.

Reynolds wrap on the left and generic on the right.
I would HIGHLY recommend testing which aluminum foil you want to use BEFORE you wrap the entire backdrop. I made the mistake of going ahead and using the Reynolds wrap thinking it would be perfect and I had to rewrap the whole thing in the off brand stuff. Just take a bit of it and stretch it between two light stands and place that behind your subject or tape a strip of the foil to the wall. I'd also like to point out that usually aluminum foil has a shiny side and a duller side. When I mentioned how dull the name brand stuff looked, I was actually using the shiny side. If I were to use the dull side, the bokeh would've been atrocious.

All wrapped up, just needs taped down.
Another thing to note, you'll want to crumble up the aluminum foil before placing it on your background. If you were to just take it out of the packaging as is, you wouldn't have gotten that sweet looking bokeh that we're going for here. Likewise, you might be thinking, "why not save the hassle and use the silver side of a reflector?". Just like the uncrumpled aluminum foil, there aren't enough creases where the light can bounce around to create that beautiful bokeh. In the video, I show you my um... "technique" for rolling and creasing the foil without tearing the foil and creating a nightmare for yourself.

There's an added bonus you get when making this because your backdrop also doubles as a giant reflector. It works even better if you get the foam board since it's lighter and stands on its own. You now have a giant 8'x4' reflector and if you went with the tile board, you also have the white side to use as a giant bounce. I mean, it's not nearly as portable as those foldable ones, although it's cool nonetheless.

That's it! It's an incredibly simple and effective way to create a badass background that gives off a plethora of beautiful bokeh. Altogether, if you only do one, you can make this for under $20 and a little bit of your time. You can combine these together to create a giant wall for group portraits or just because it's awesome, so why not right? Anyway, I hope this helped some people out there looking for a new creative tool to add to their toolbelt of sweet D.I.Y. photography related things. As always, I love seeing what everyone else comes up with or if anyone else has any tips or alternatives they used when trying this out. Let me, and everyone else, know in the comments below and I'll definitely take a look.
Youtube
Learn. Create. Experience. Share.